


Customer Birthday Discount
To enroll and set up a new worker in ThriftCart Timesheets, follow the steps below.
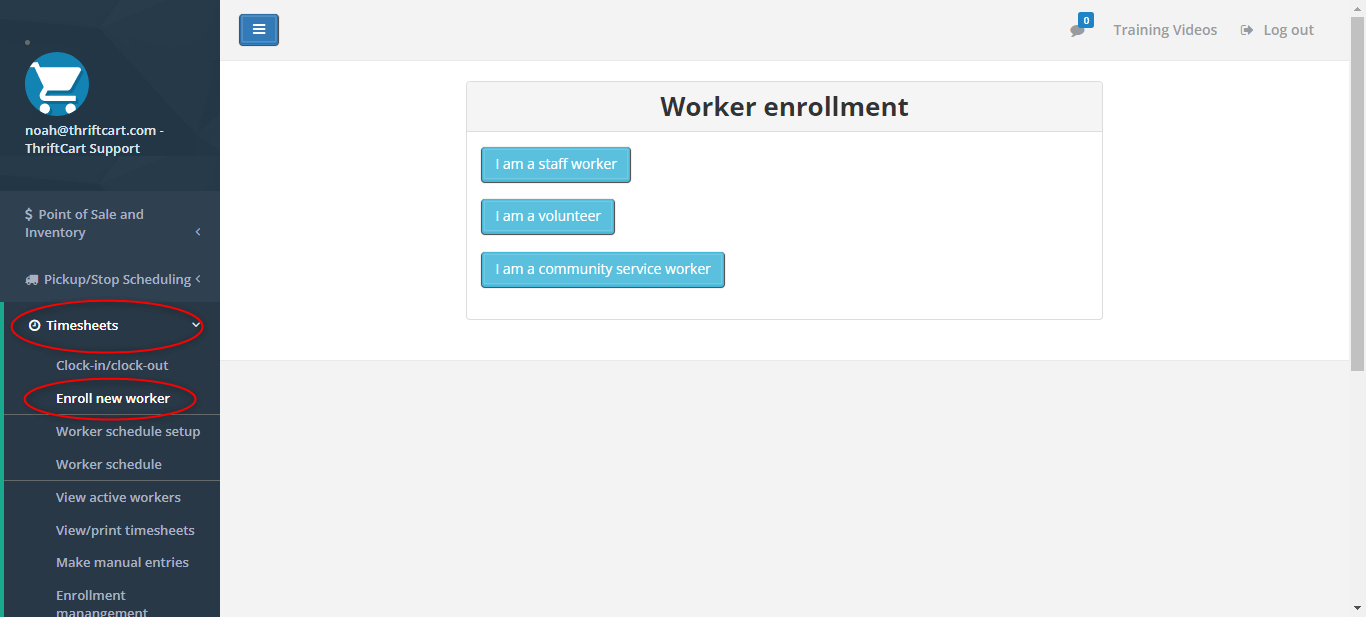
1. On the left side navigation bar, select TImesheets > Enroll new worker.

2. On this page, select the type of worker that you are enrolling.

3. At this point, you will be prompted to enter the worker’s contact information. You can choose which information you will or won’t collect.

4. Once you have entered the worker’s information, press the Enroll As Staff button.

5. Once you do this, you will get a page that confirms your worker’s enrollment, and now you can move on to setting up their schedule.

6. To edit the schedule/worker info for a new worker, use the left side navigation bar to go to Timesheets > Worker schedule setup.

7. On this page you will see your different worker groups and a list of all of your enrolled workers.

8. Scroll down this page to locate the new worker you enrolled.

9. Once you have found this worker, press the blue Edit button on the right side of the screen to adjust the worker details.

10. On the settings page for your worker, you can first adjust what worker groups they belong to, and which location(s) this worker is available to work at.

11. Scrolling down further, you can adjust the worker’s minimum, desired, and maximum hours, along with adding in any additional notes.

12. The next option is to add any unavailable times to this worker’s profile. Press the blue Add unavailability timeblock to do this.

13. On this screen, you can add any continual unavailable hours to this worker’s profile, which block off those times and not allow them to be scheduled.

14. Once you add in the unavailable times, red bars will appear on the schedule to identify the hours that this worker cannot be scheduled.

Once you have finished adding this information, you have completed enrolling and setting up this worker’s account.

With three years in the thrift industry during a pivotal shift to omnichannel selling, Kyle Payton helps stores better manage inventory and forecast product needs. As General Manager at ThriftCart, he focuses on equipping nonprofit thrift operations with point of sale technology that makes their day-to-day operations easier.
Kyle's passion lies in helping thrift store managers embrace digital solutions that support their unique mission and maximize their impact in the community.
"Supporting nonprofits is incredibly rewarding. I’m here to provide thrift store managers with the tools they need to thrive, so they can continue making a positive difference in their communities."