


Customer Birthday Discount
Here is how to issue and print sold tags for purchased items.
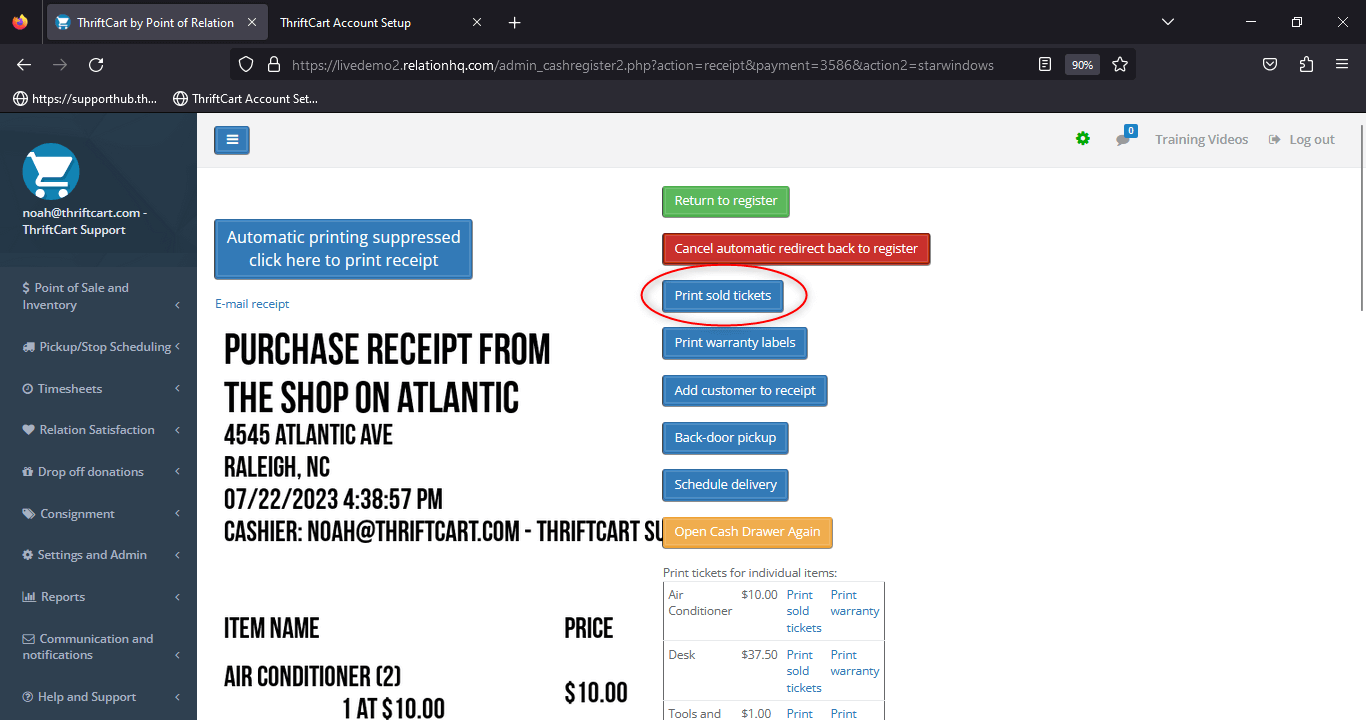
1) After a completed purchase, when you are redirected to the receipt screen, press the Print sold tickets button to begin this process.
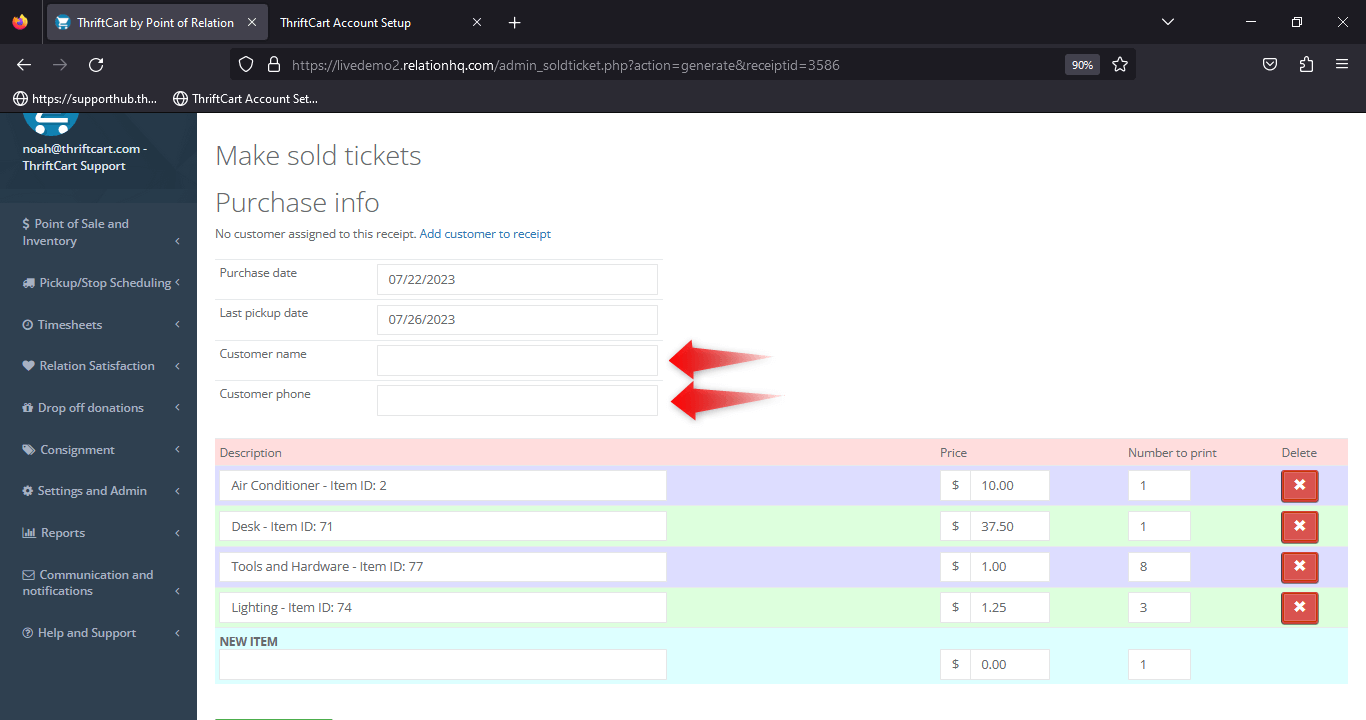
2) On the following screen, you will be prompted to fill out the purchase/customer information. (Note: the purchase/pickup date will automatically fill based on what you entered when first creating your ThriftCart account).
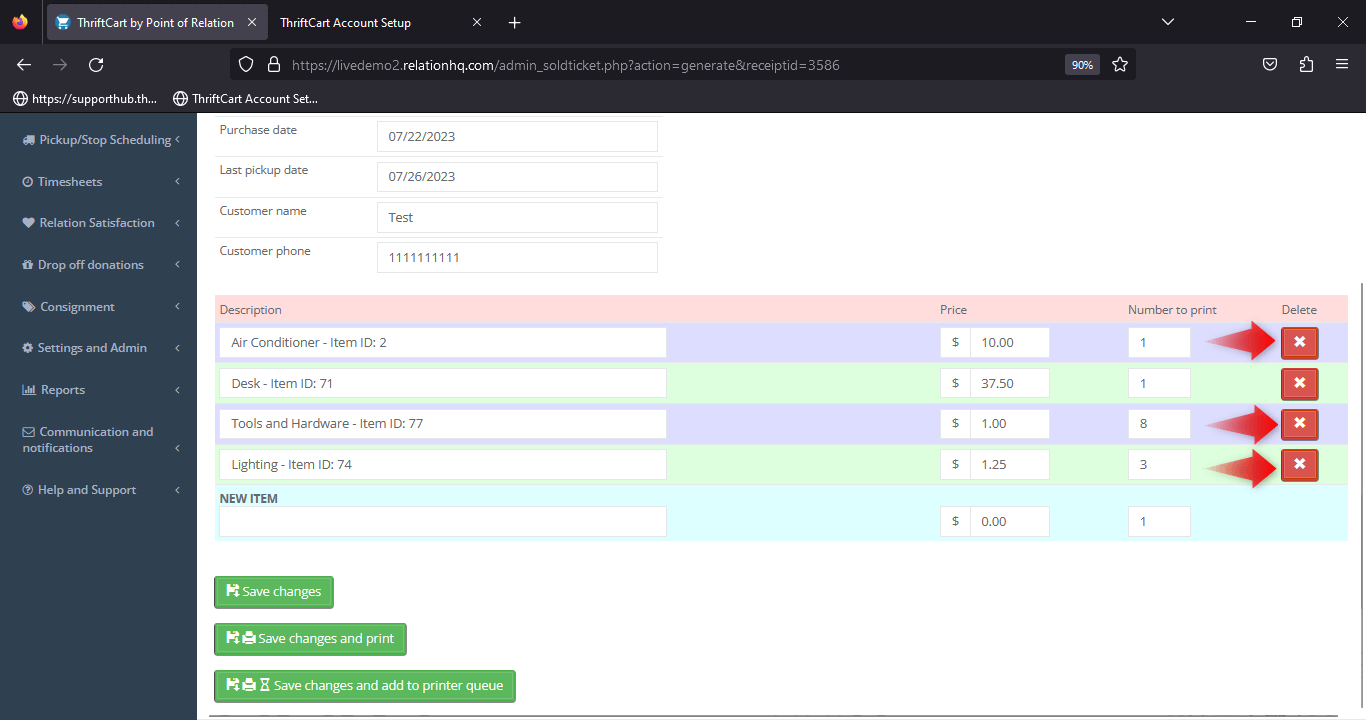
3) Next, select which items you want to print sold tags for. For any items that you do not need a sold tag for, press the red X button to remove that item from the sold tag queue.
4) Once you have entered the required information and chosen the items you would like printed on the sold tags, press the Save changes and print button.
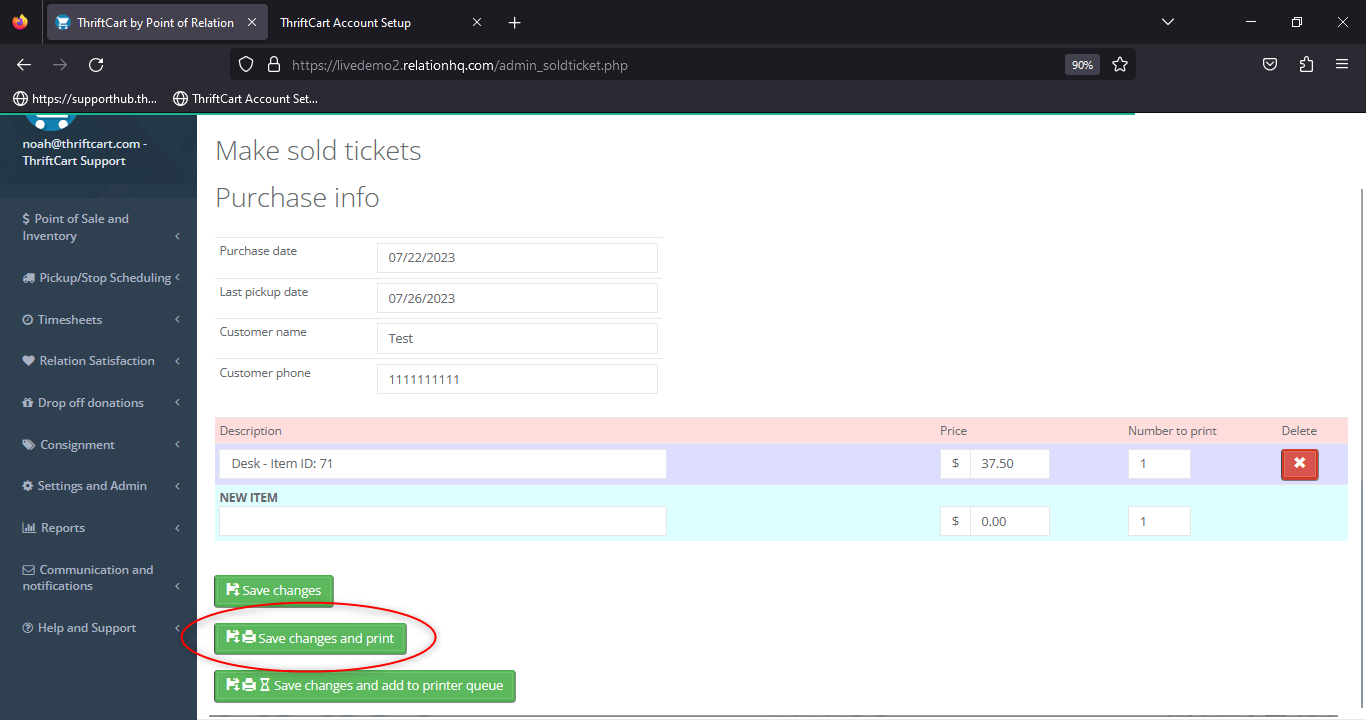
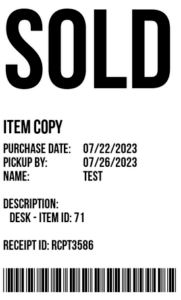
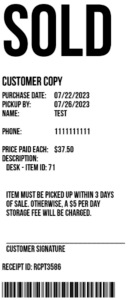
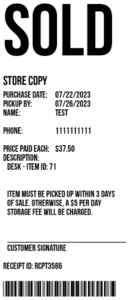
5) Once you do this, the system will print three sold tags: an item copy, a customer copy, and a store copy.
Here is how to mark these items as picked up after you have printed sold tags for them.
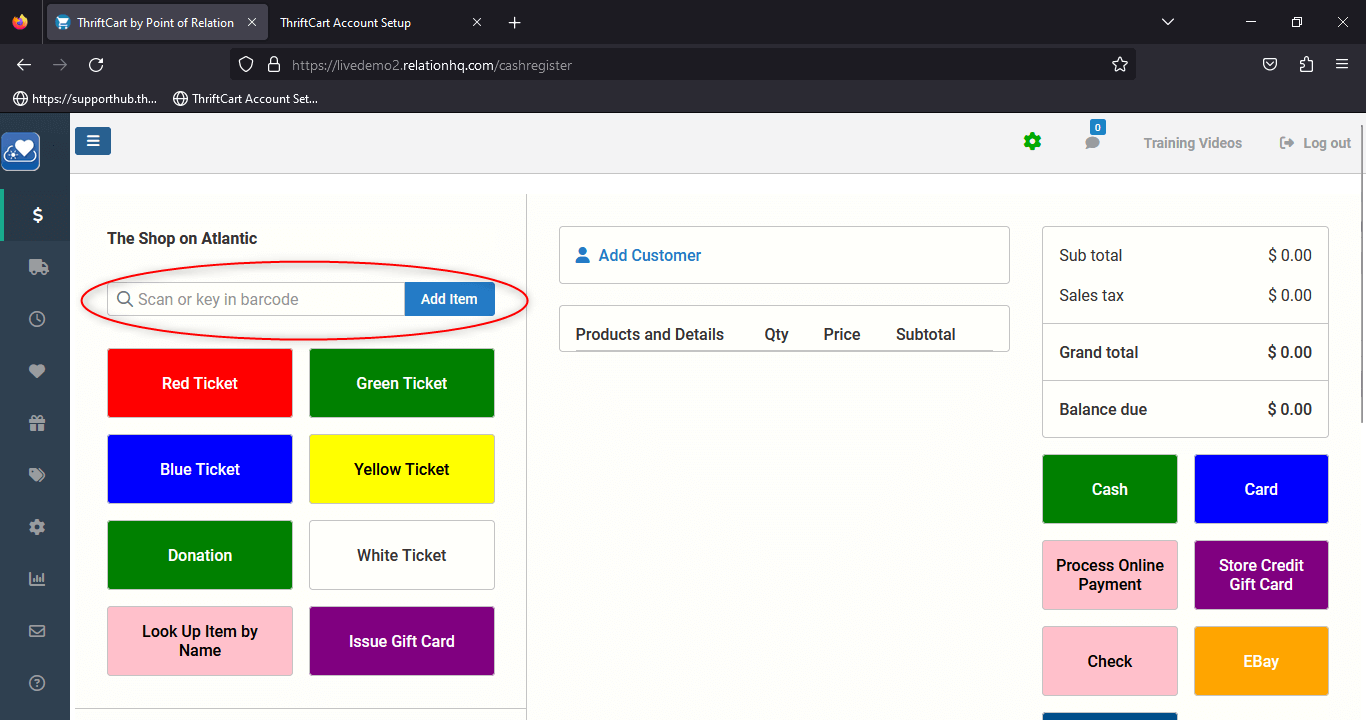
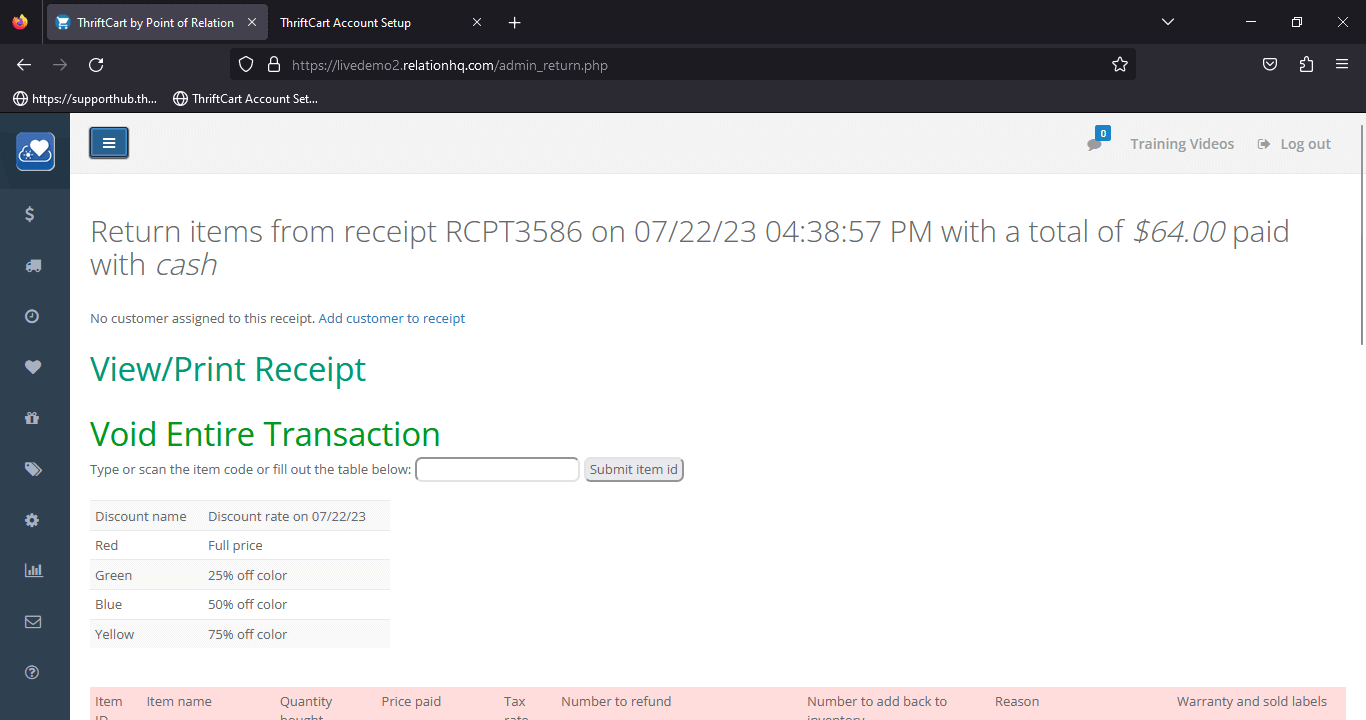
1) First, scan or enter the barcode number on the customer copy of the sold tag.
2) Once you scan this barcode, you will be taken to the Return Screen for this transaction.
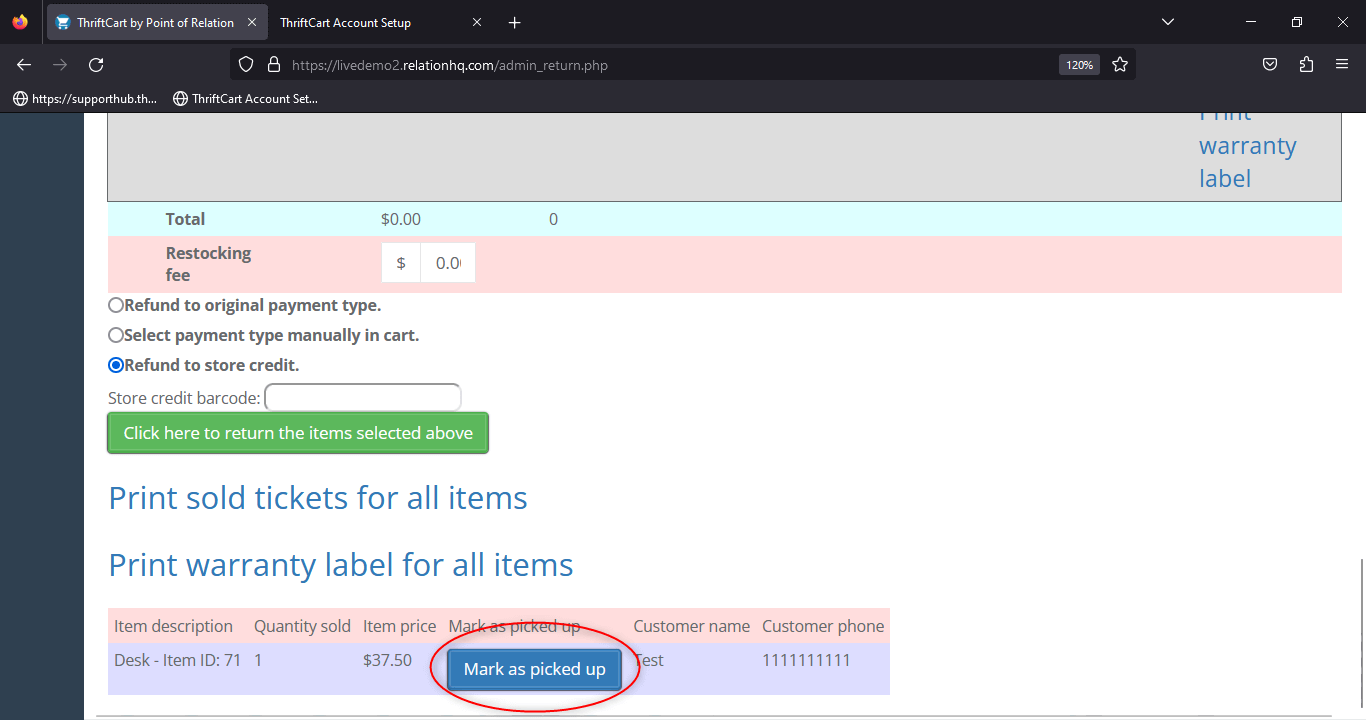
3) Scroll to the bottom of the Return Screen to view any items that have had sold tags printed and are now marked as needing to be picked up. Press the blue Mark as picked up button to identify that this item has been picked up. This will update the Sold Items report.
You can also use the Sold Items report to manage items that have had sold tags printed for them. In this report, you can track whether items have been picked up or abandoned.

With three years in the thrift industry during a pivotal shift to omnichannel selling, Kyle Payton helps stores better manage inventory and forecast product needs. As General Manager at ThriftCart, he focuses on equipping nonprofit thrift operations with point of sale technology that makes their day-to-day operations easier.
Kyle's passion lies in helping thrift store managers embrace digital solutions that support their unique mission and maximize their impact in the community.
"Supporting nonprofits is incredibly rewarding. I’m here to provide thrift store managers with the tools they need to thrive, so they can continue making a positive difference in their communities."